The making of a chain
Aurora Simmons
It has been a very busy three weeks for me at Handmade Revolution. A number of orders were made by historical and fantasy author Christian Cameron for some historical reproductions to be worn at a Medieval martial arts tournament in Verona, Italy. I thought it might be interesting to offer a look at the process of making a Medieval knights chain, which was a lot of work but really fun experience all in all.
The idea was to create a long chain which could be worn over the shoulders. This was a common piece if medieval jewellery worn by knights of the age. Here's a bit more historical information on that if you are interested.
The chain was to be made from square wire, which comes in approximately 12 inch lengths from the smelter.
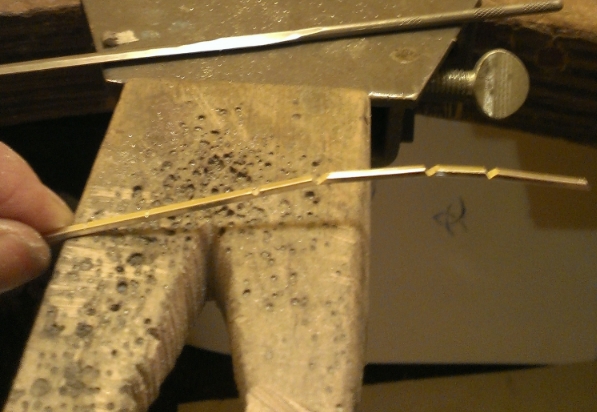
A length of square wire with some grooves in it.
The chain needed to be made from rectangular links with crisp corners. To do this, grooves must be cut for each corner with a square file to create the correct 90 degree angle.
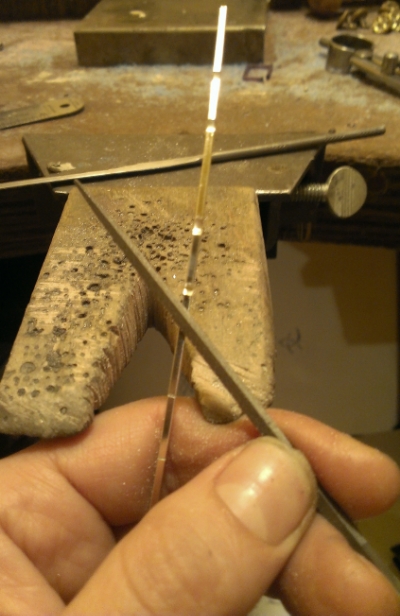
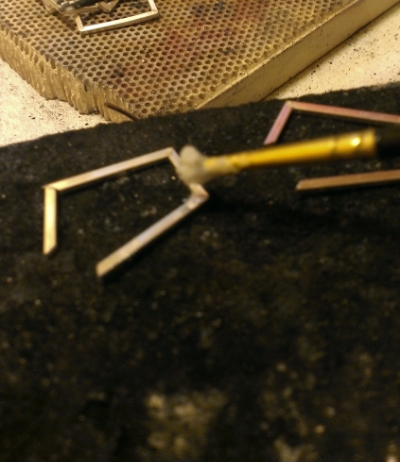
The file I used to make the grooves.
You can see the file that was used. each of it's angles is 90 degrees so it gives the corners the correct angle. I had to be careful to file almost through the metal but not quite, so that the wire would bend but not break. The file was held perpendicular to the wire to cut the grooves. Four grooves were cut for each link. On the last one I would file right through the metal to separate the link from the rest of the wire.
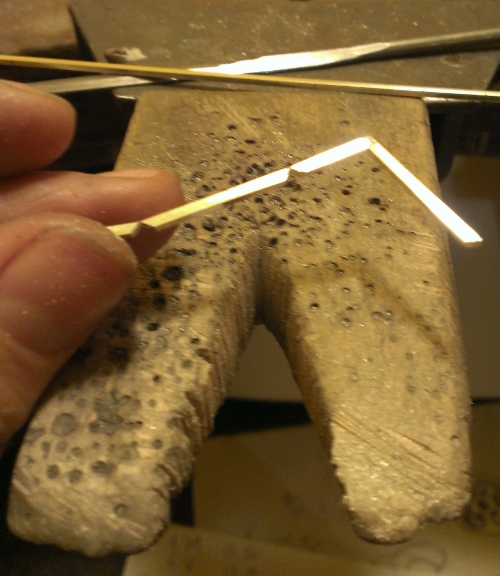
The link is bent at each corner.
Once the link has been separated, the link is bent at each corner. Because of the imperfections in filing angle, and other issues of human error, the links didn't usually bend into a perfect rectangle right off the bat. Final adjustments to shape were made after the link was soldered.
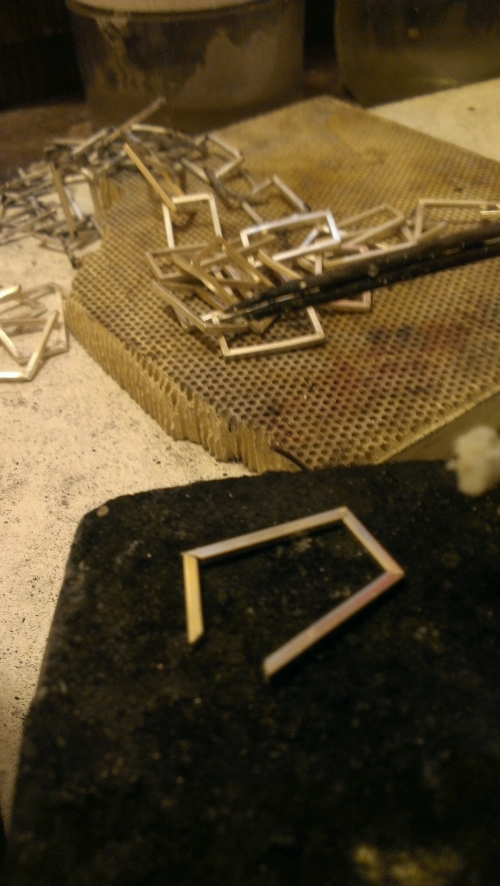
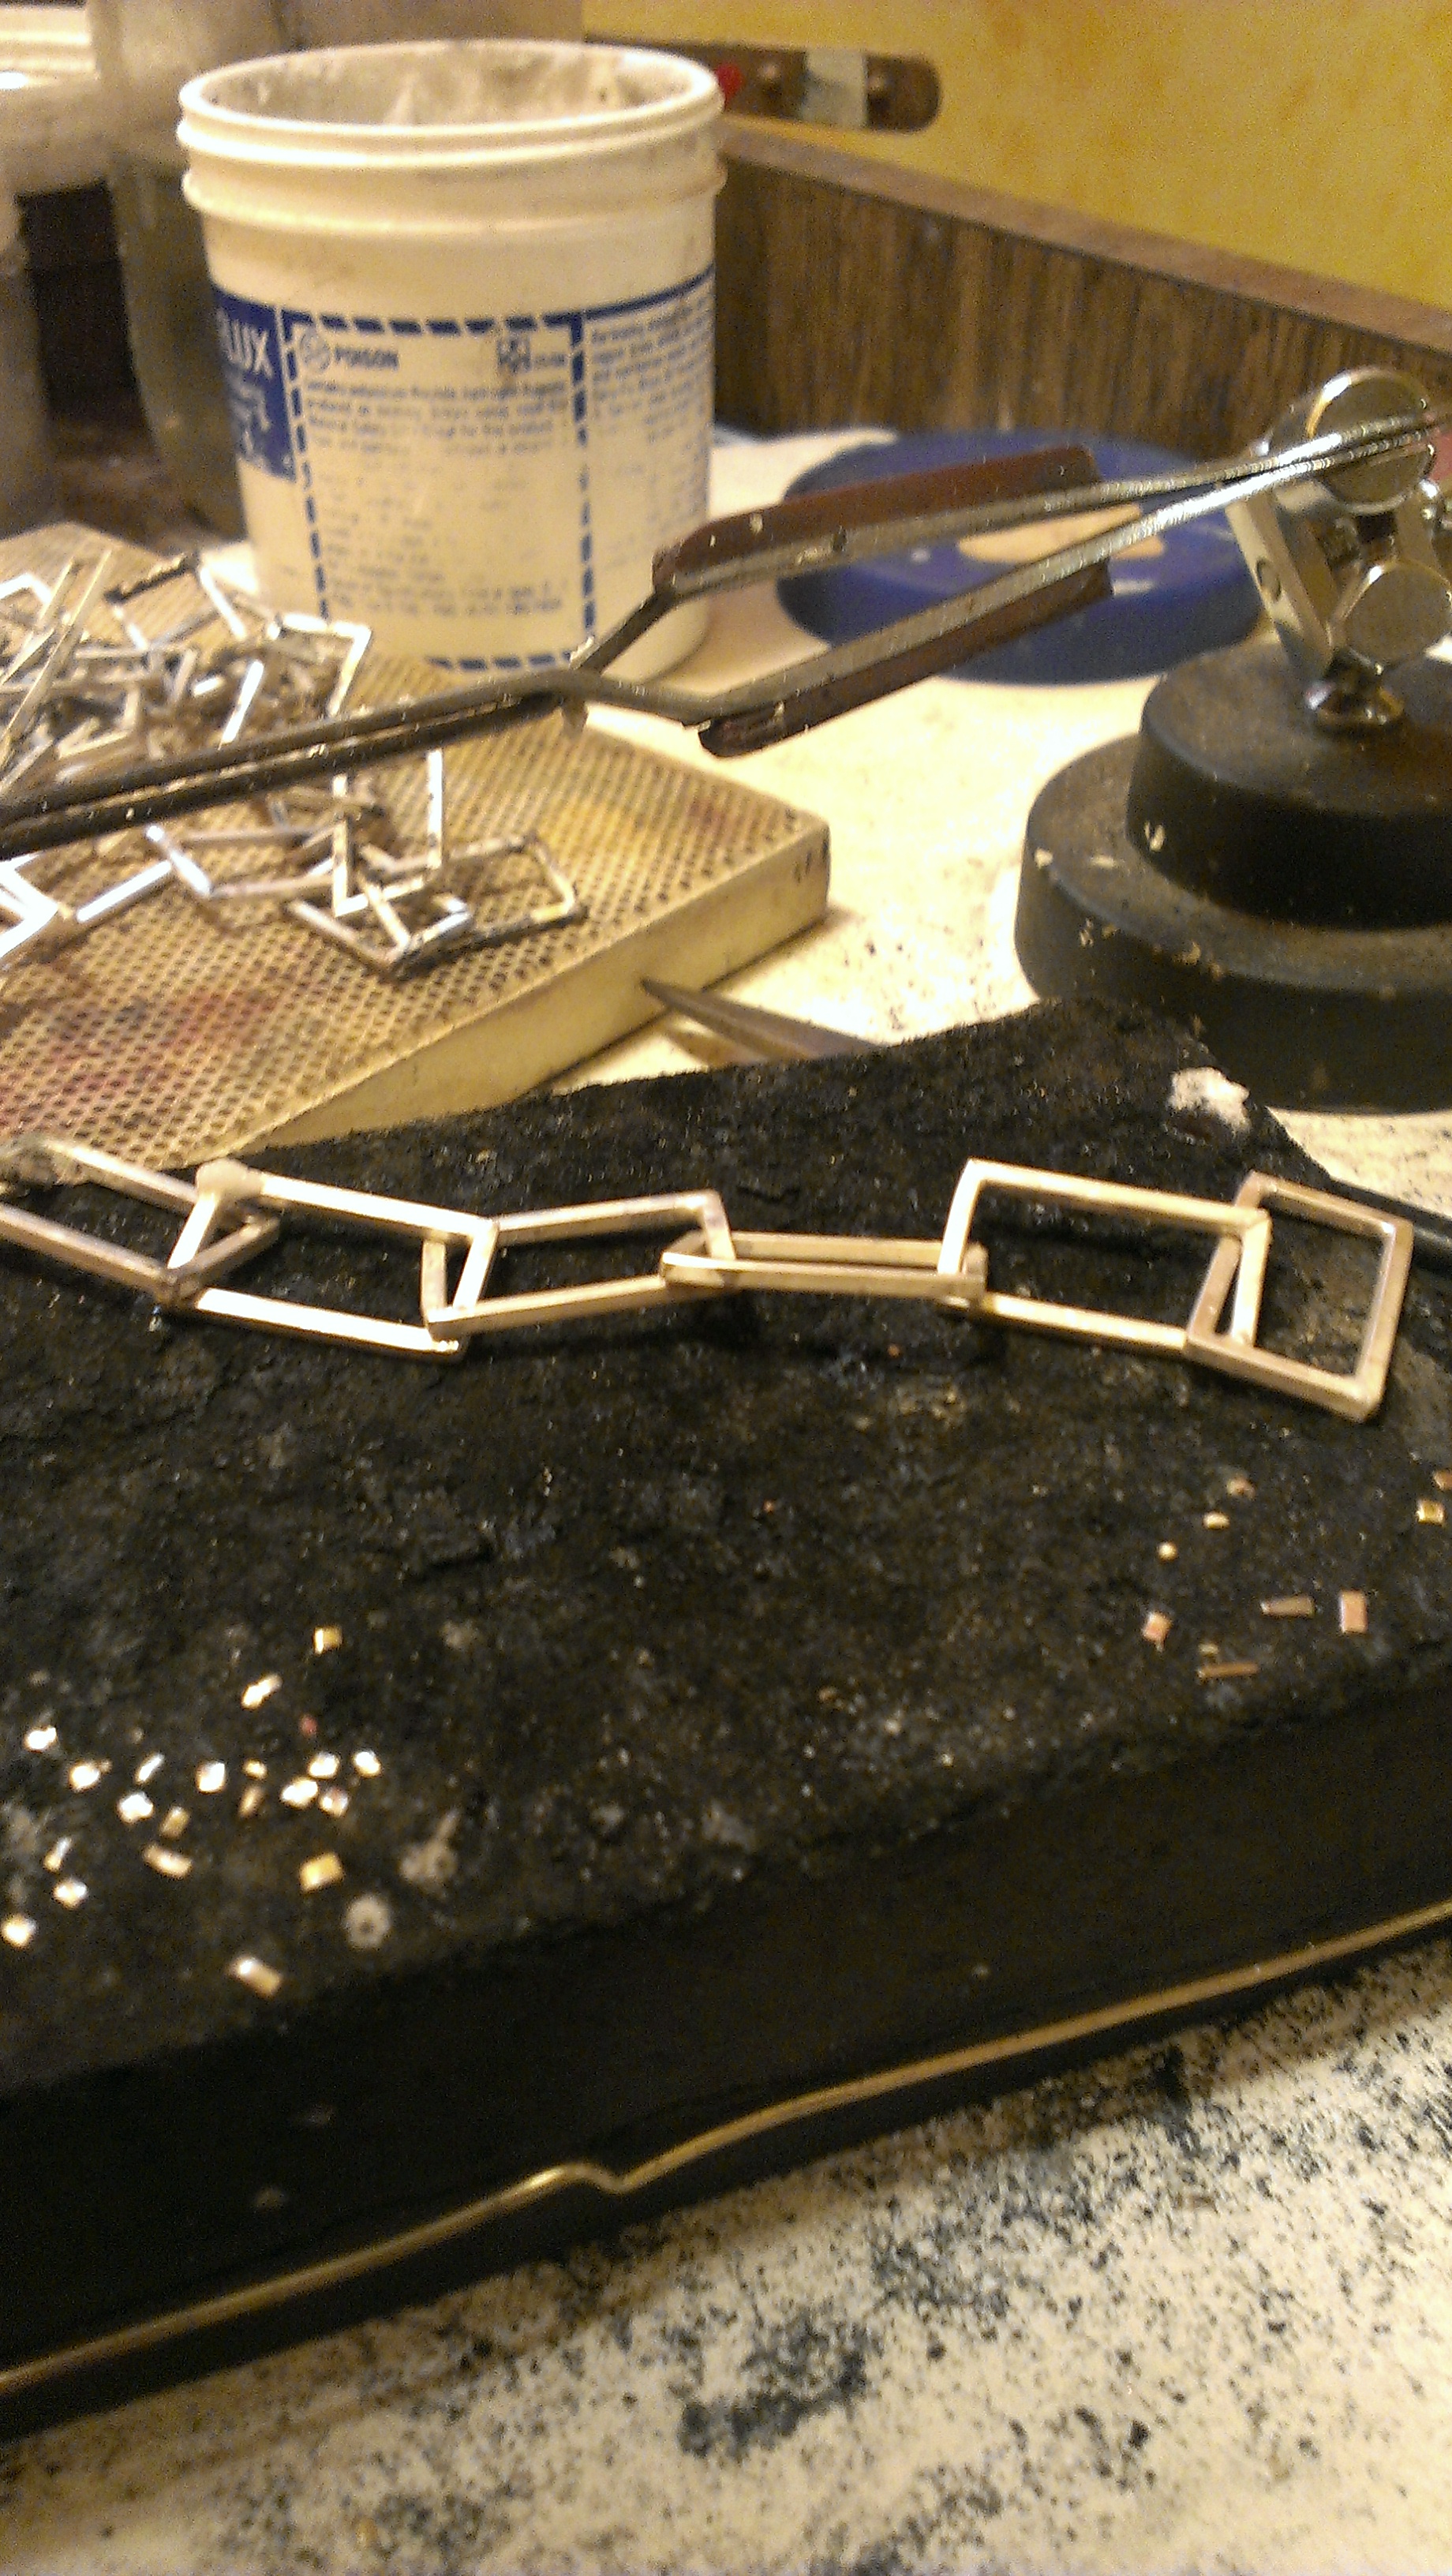
A link bent into shape and ready for soldering.
In this photo you can see a link waiting on the soldering block for soldering at three of the corners. One corner must be left open so that it can be attached to the other links. You can see the already assembled chain in the background.
Flux is applied.
Flux is applied to the corners ready to be soldered. This helps the solder to flow nicely into the heated space. The plan is to have solder flow between the two sides of the link so that the corner is nice and strong, Sometimes solder flows to the wrong place and you have to add more.
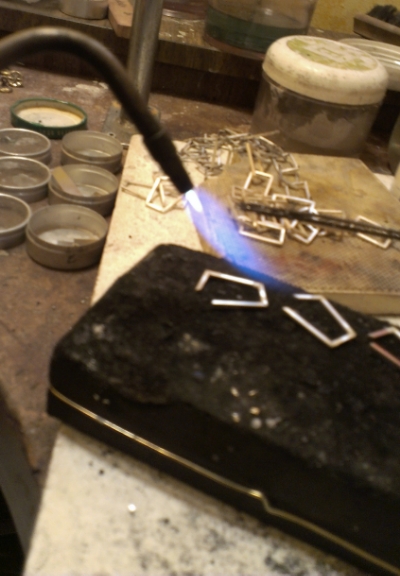
About to flow the solder.
Here you can see the flame getting ready to heat the corner and make the solder flow. Different grades of solder are used at this stage and the next stage. A solder with a higher melting temperature is used at this stage and when the links are attached a lower melting point solder is used so that I will not remelt the earlier solder joints.
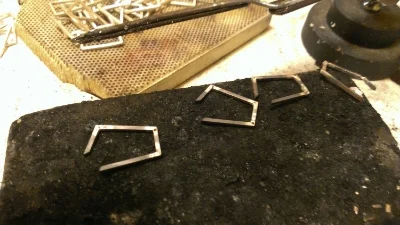
Some links with their corners soldered.
After soldering, the links have a black residue on them. This is cleaned off with an acidic chemical solution known as pickle. After removal from the pickle they will be white but not shiny.
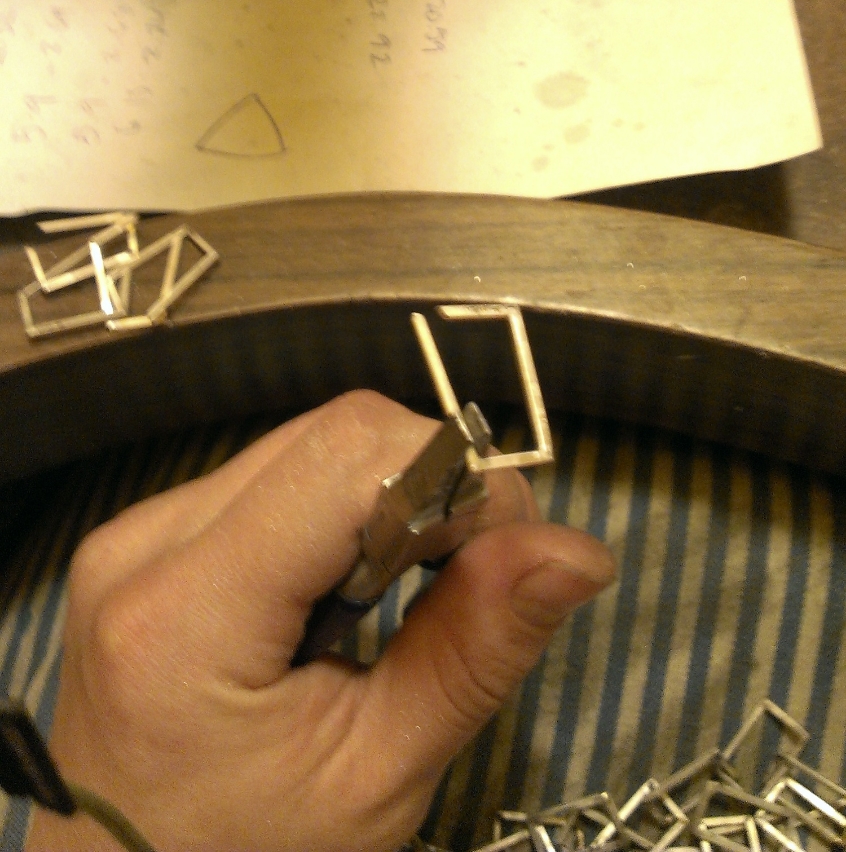
Forming the link
The final adjustments are made to each link with pliers so the open corner can be closed.
Ready for the next round of solder.
Now the link is attached the rest of the chain and the open corner is moved so that the two sides are touching. Flux is applied and solder is flowed into each open corner with the torch,
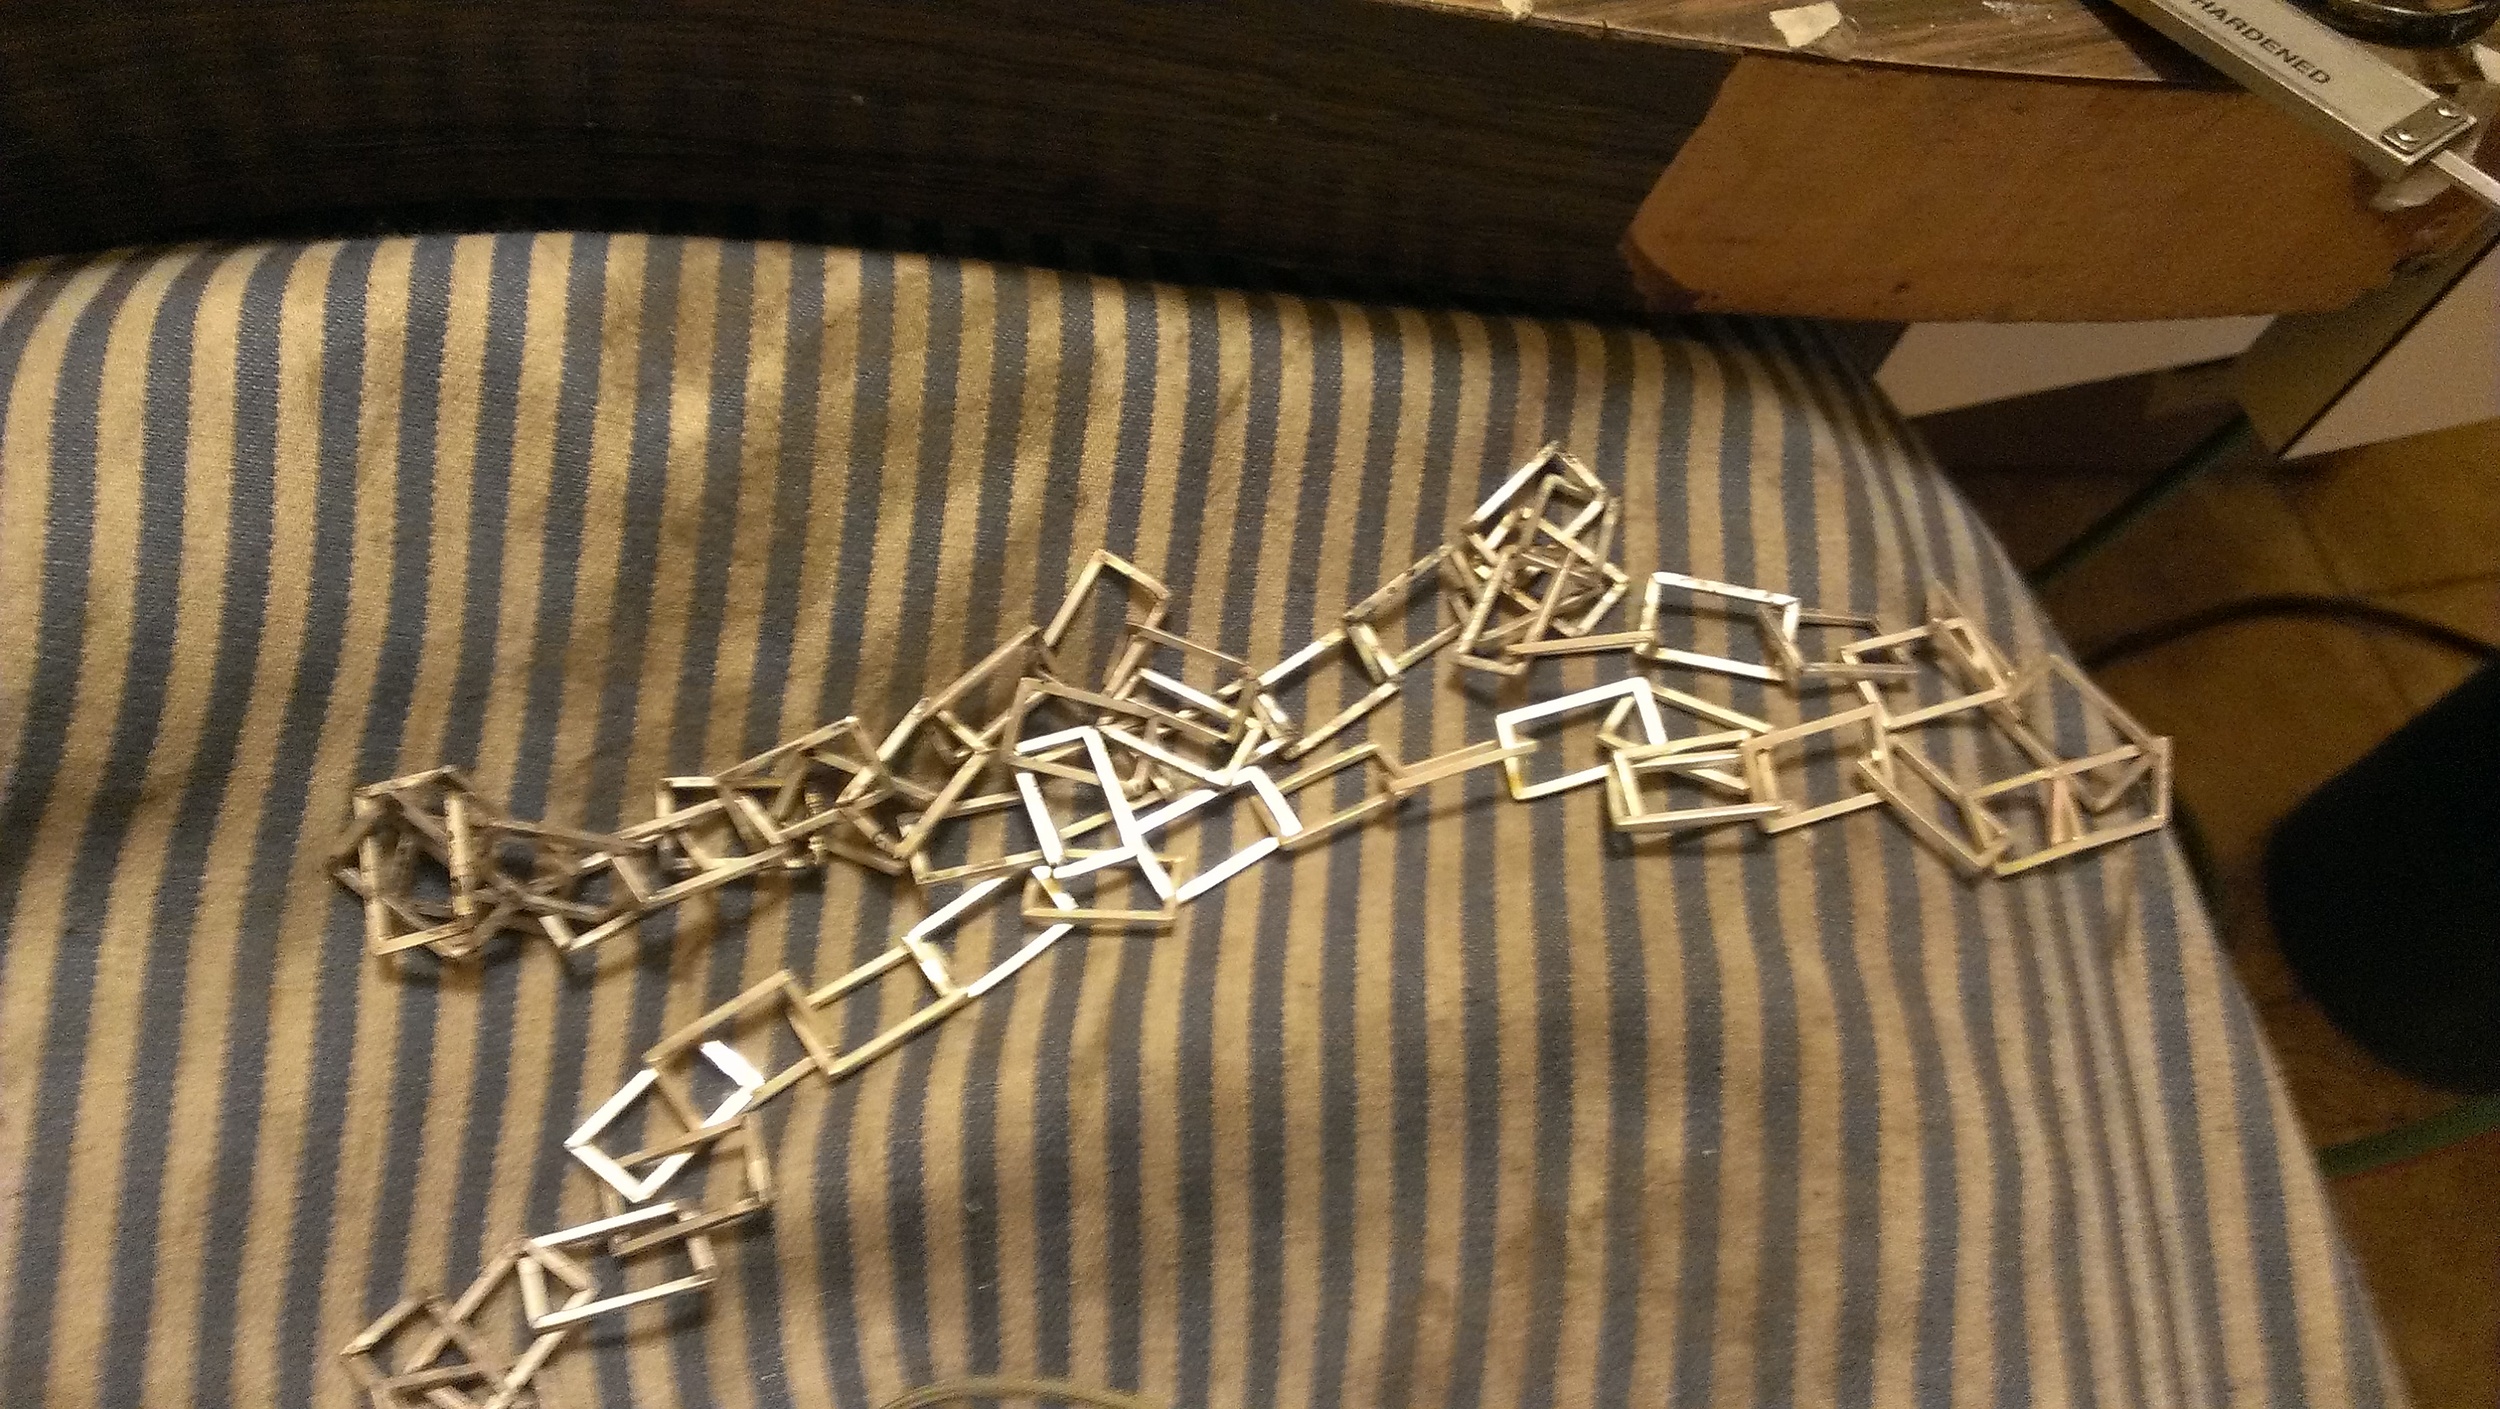
The chain, not yet closed.
Here you can see the chain in process.
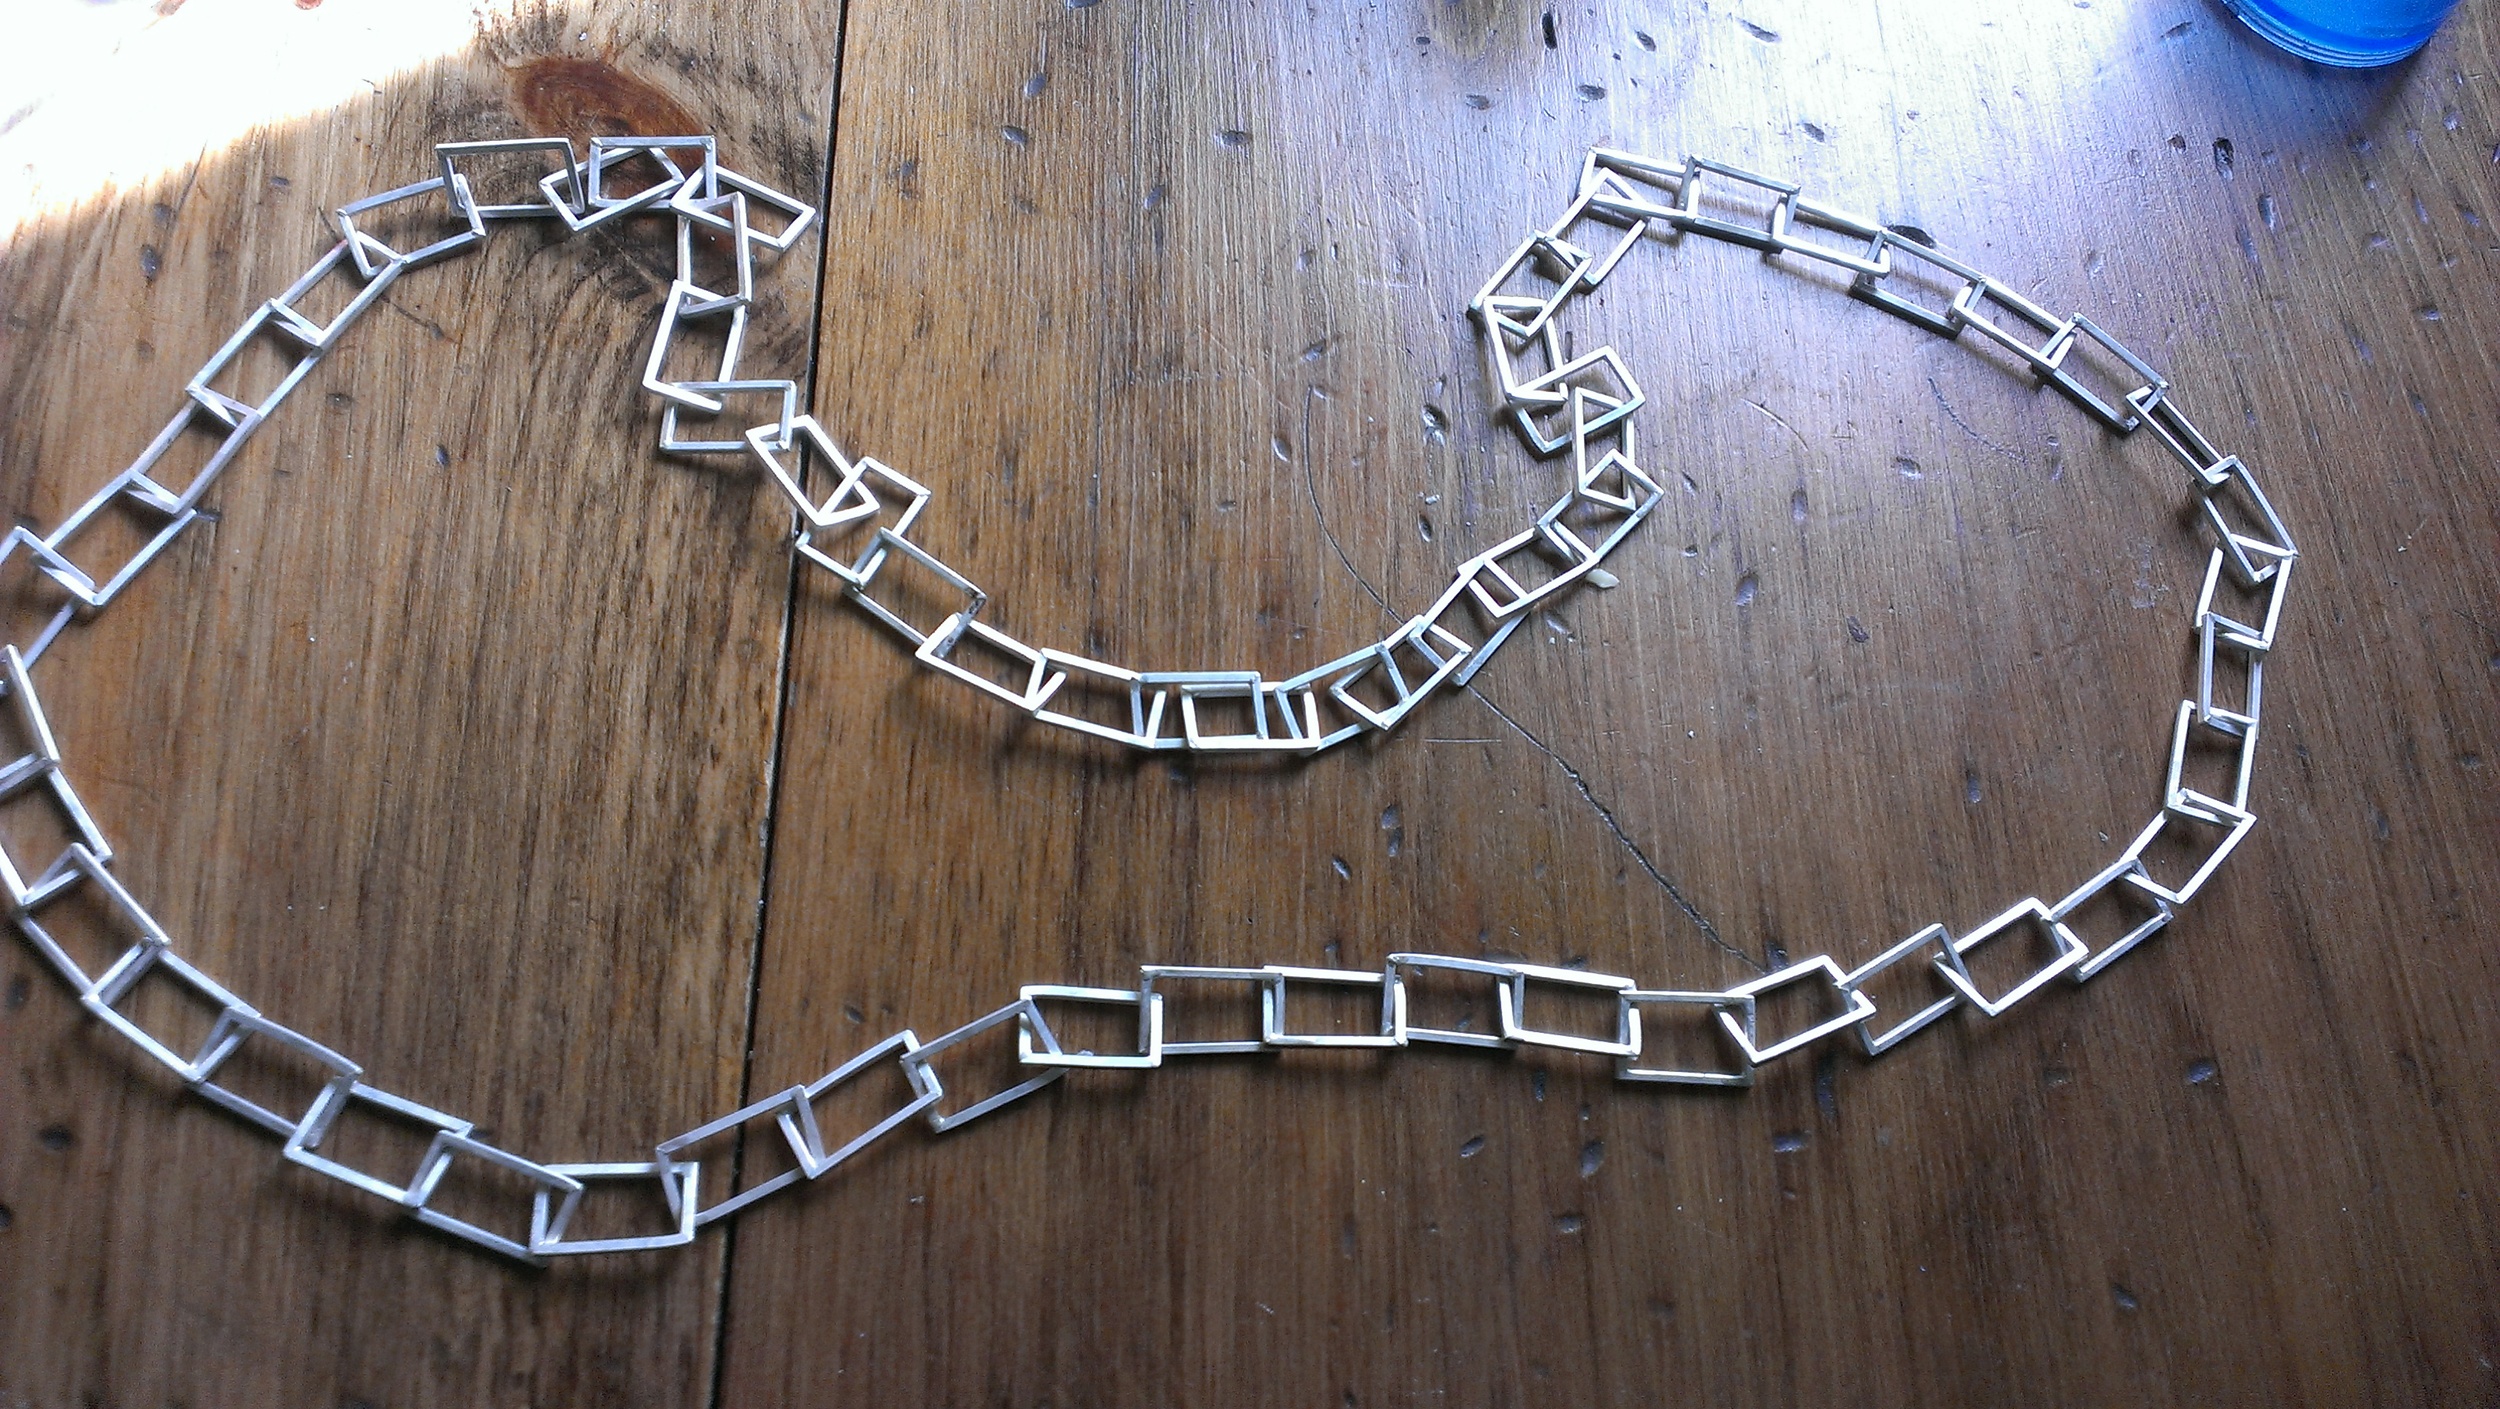
All the links fully assembled.
All the links are finally assembled. There are 64 links in the chain and it is about 47 inches in length. You can see that it is a dull silver. It has to be polished to bring out the shine, but before that, each link must be carefully filed with a flat faced file to remove any excess solder.
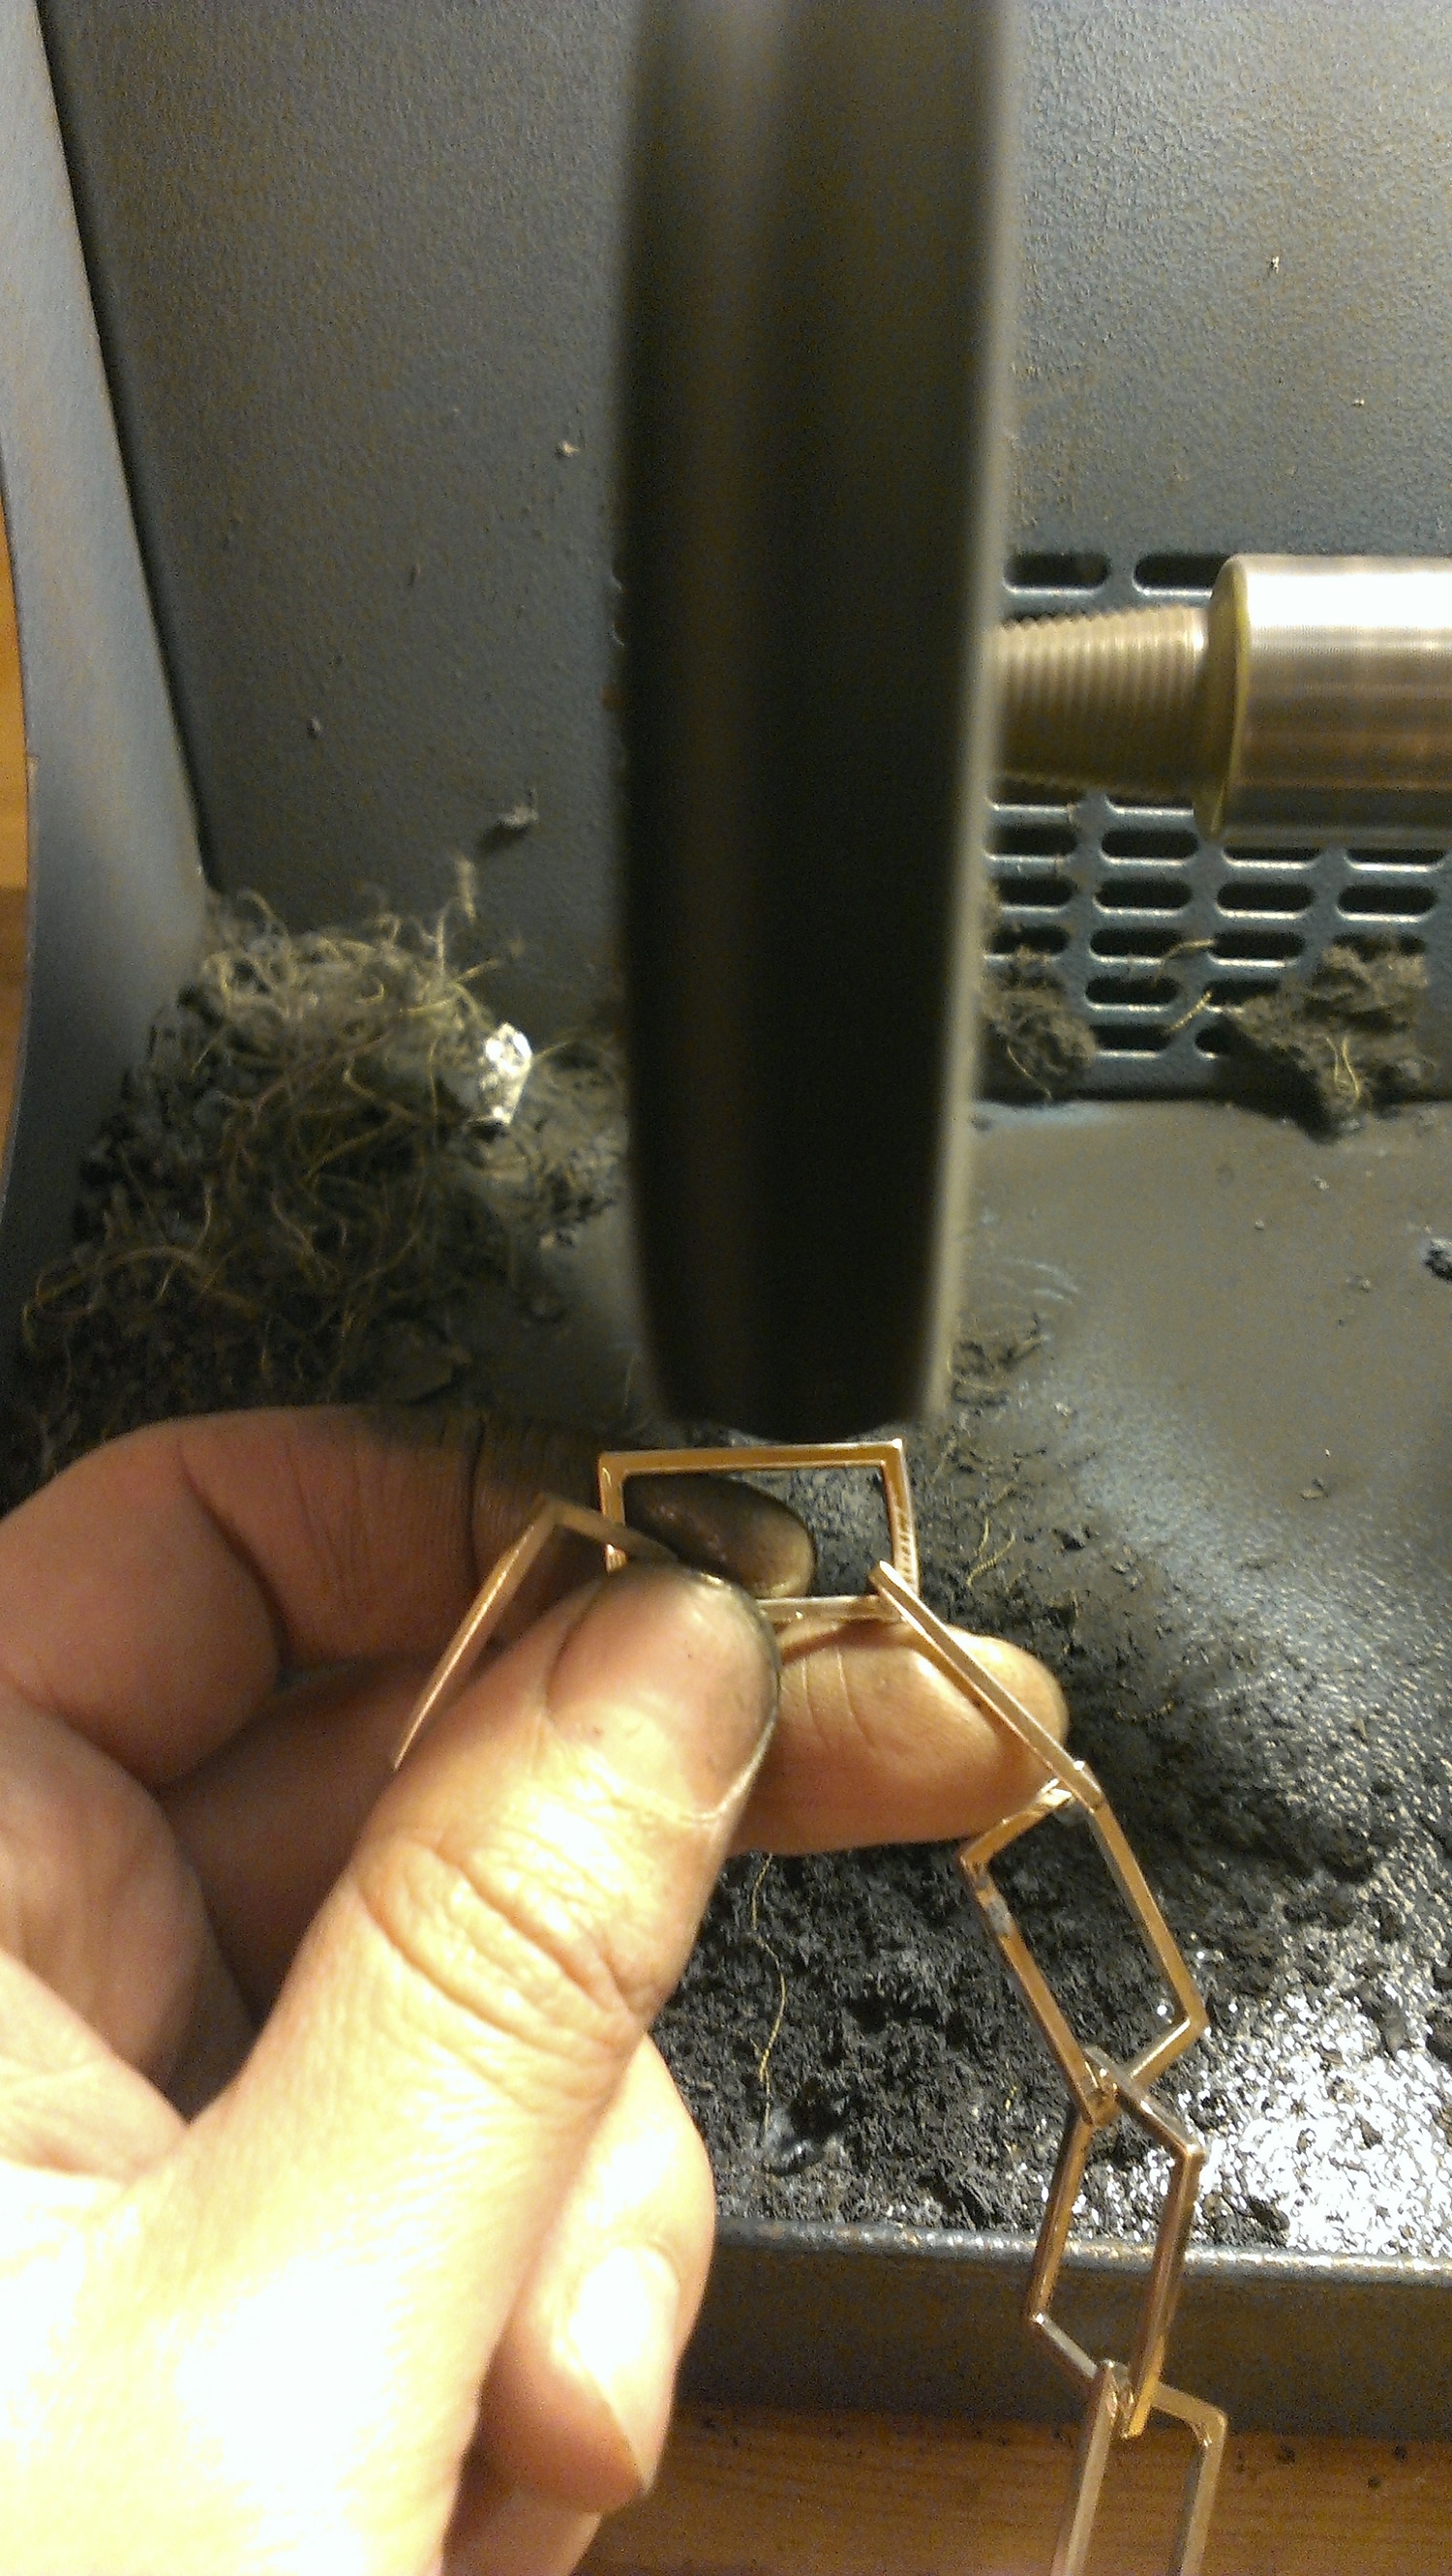
Each link is polished
Each individual link must be polished on the buffing wheel. A compound is used to remove minor surface scratches and bring out the shine.
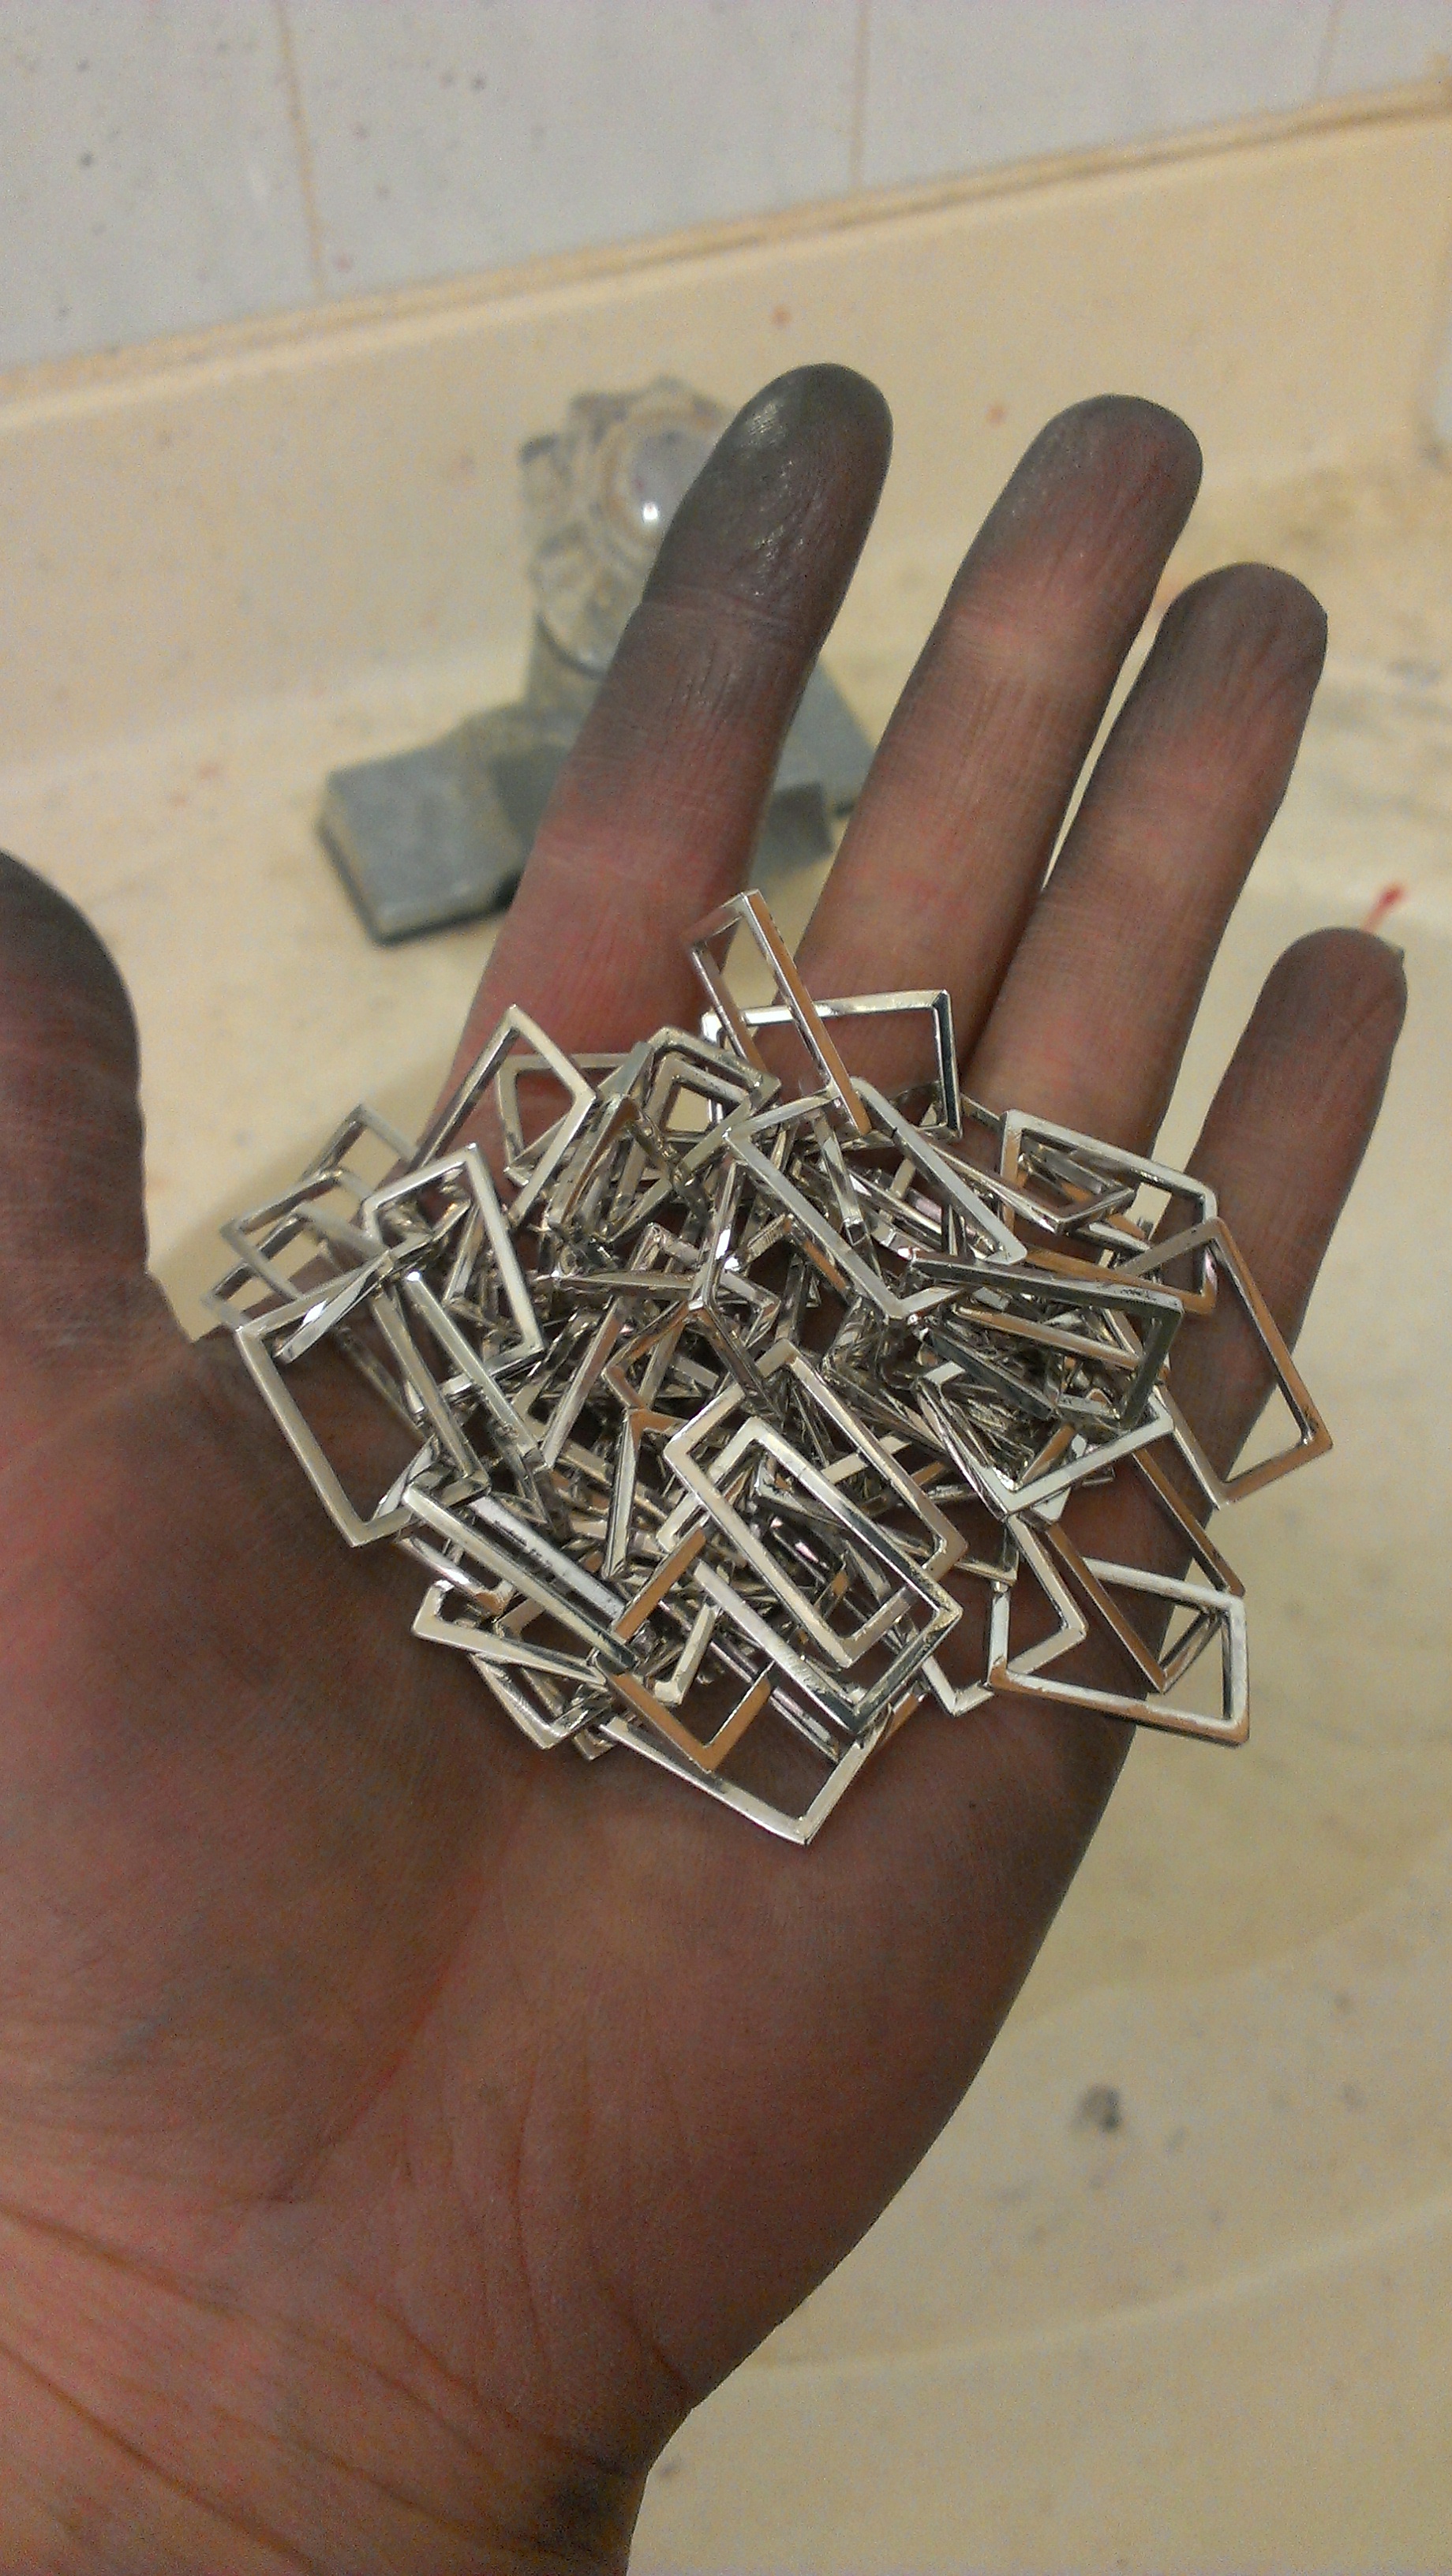
The polished chain.
Here it is, all shiny. The last of the compound residue is washed off so you can see the sparkle. it's dirty work!
The Mr. Cameron wanted the chain to be gold plated. Sadly real gold was out of the budget, as the materials alone would have cost over $2500. I don't do plating in house, as it involves toxic chemicals which must be handled with the correct sort of equipment to be safe. But the result is a beautiful gold look.
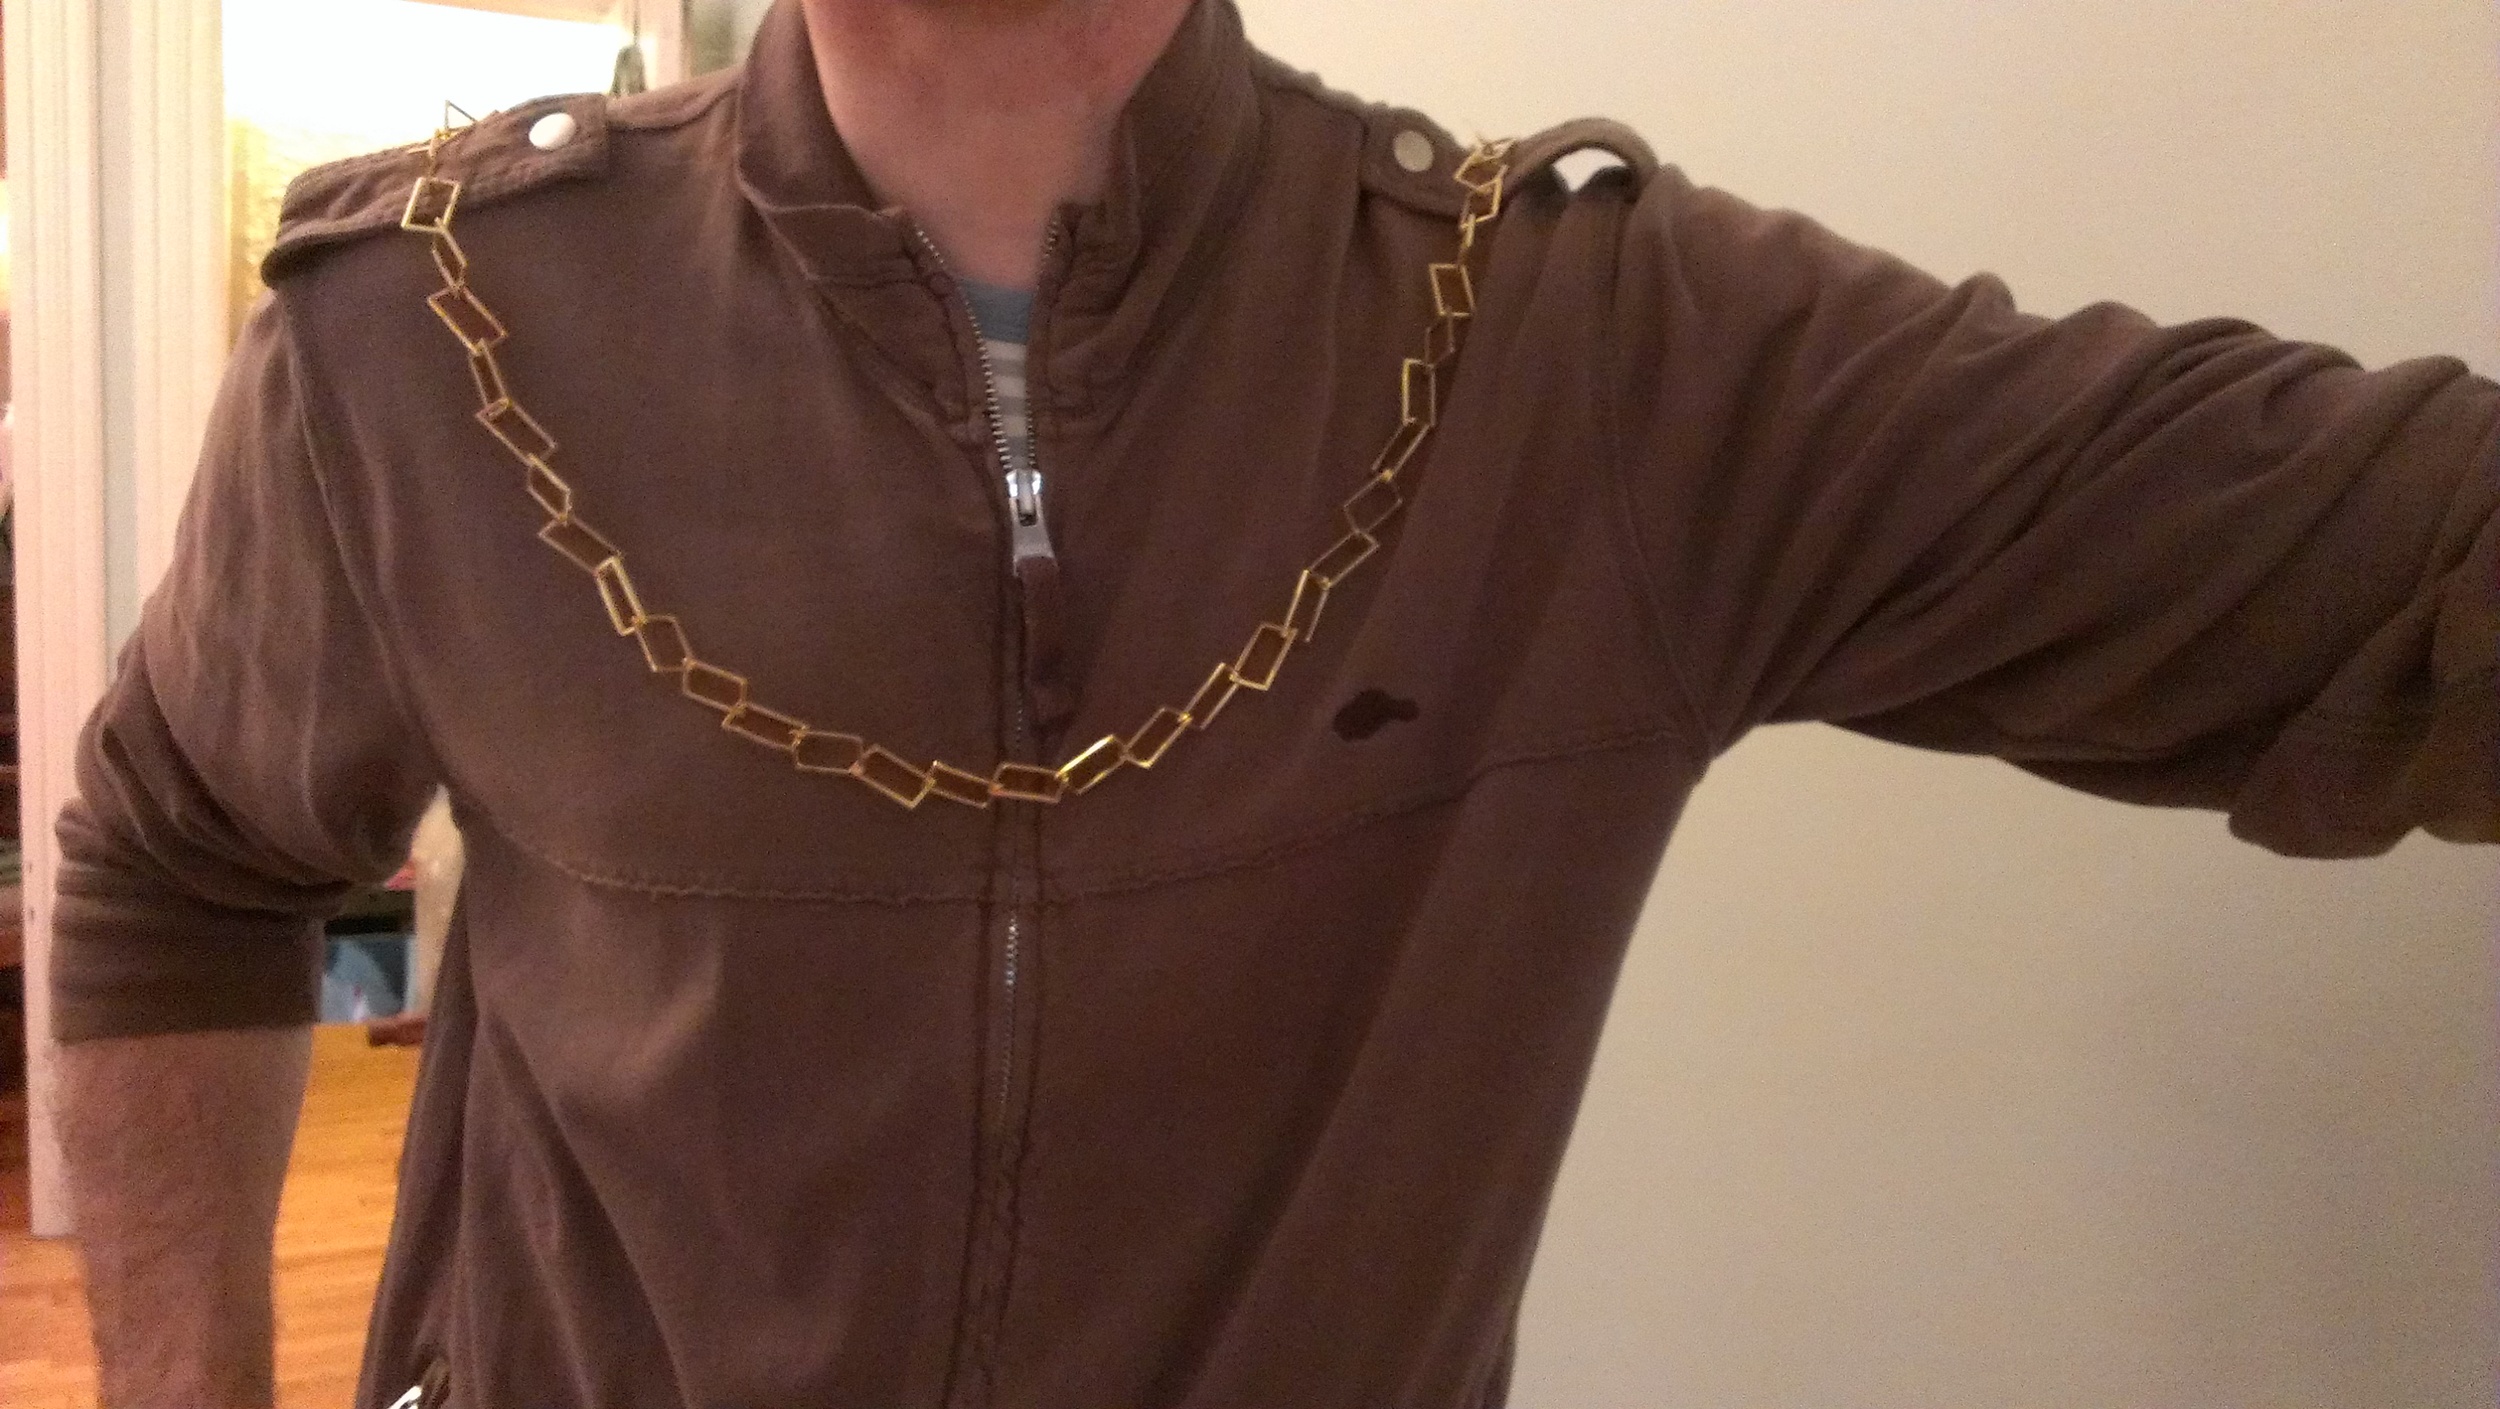
How the chain drapes
In this picture the chain is shown worn over modern clothes, but an image of it worn in its proper historical context will be available soon.
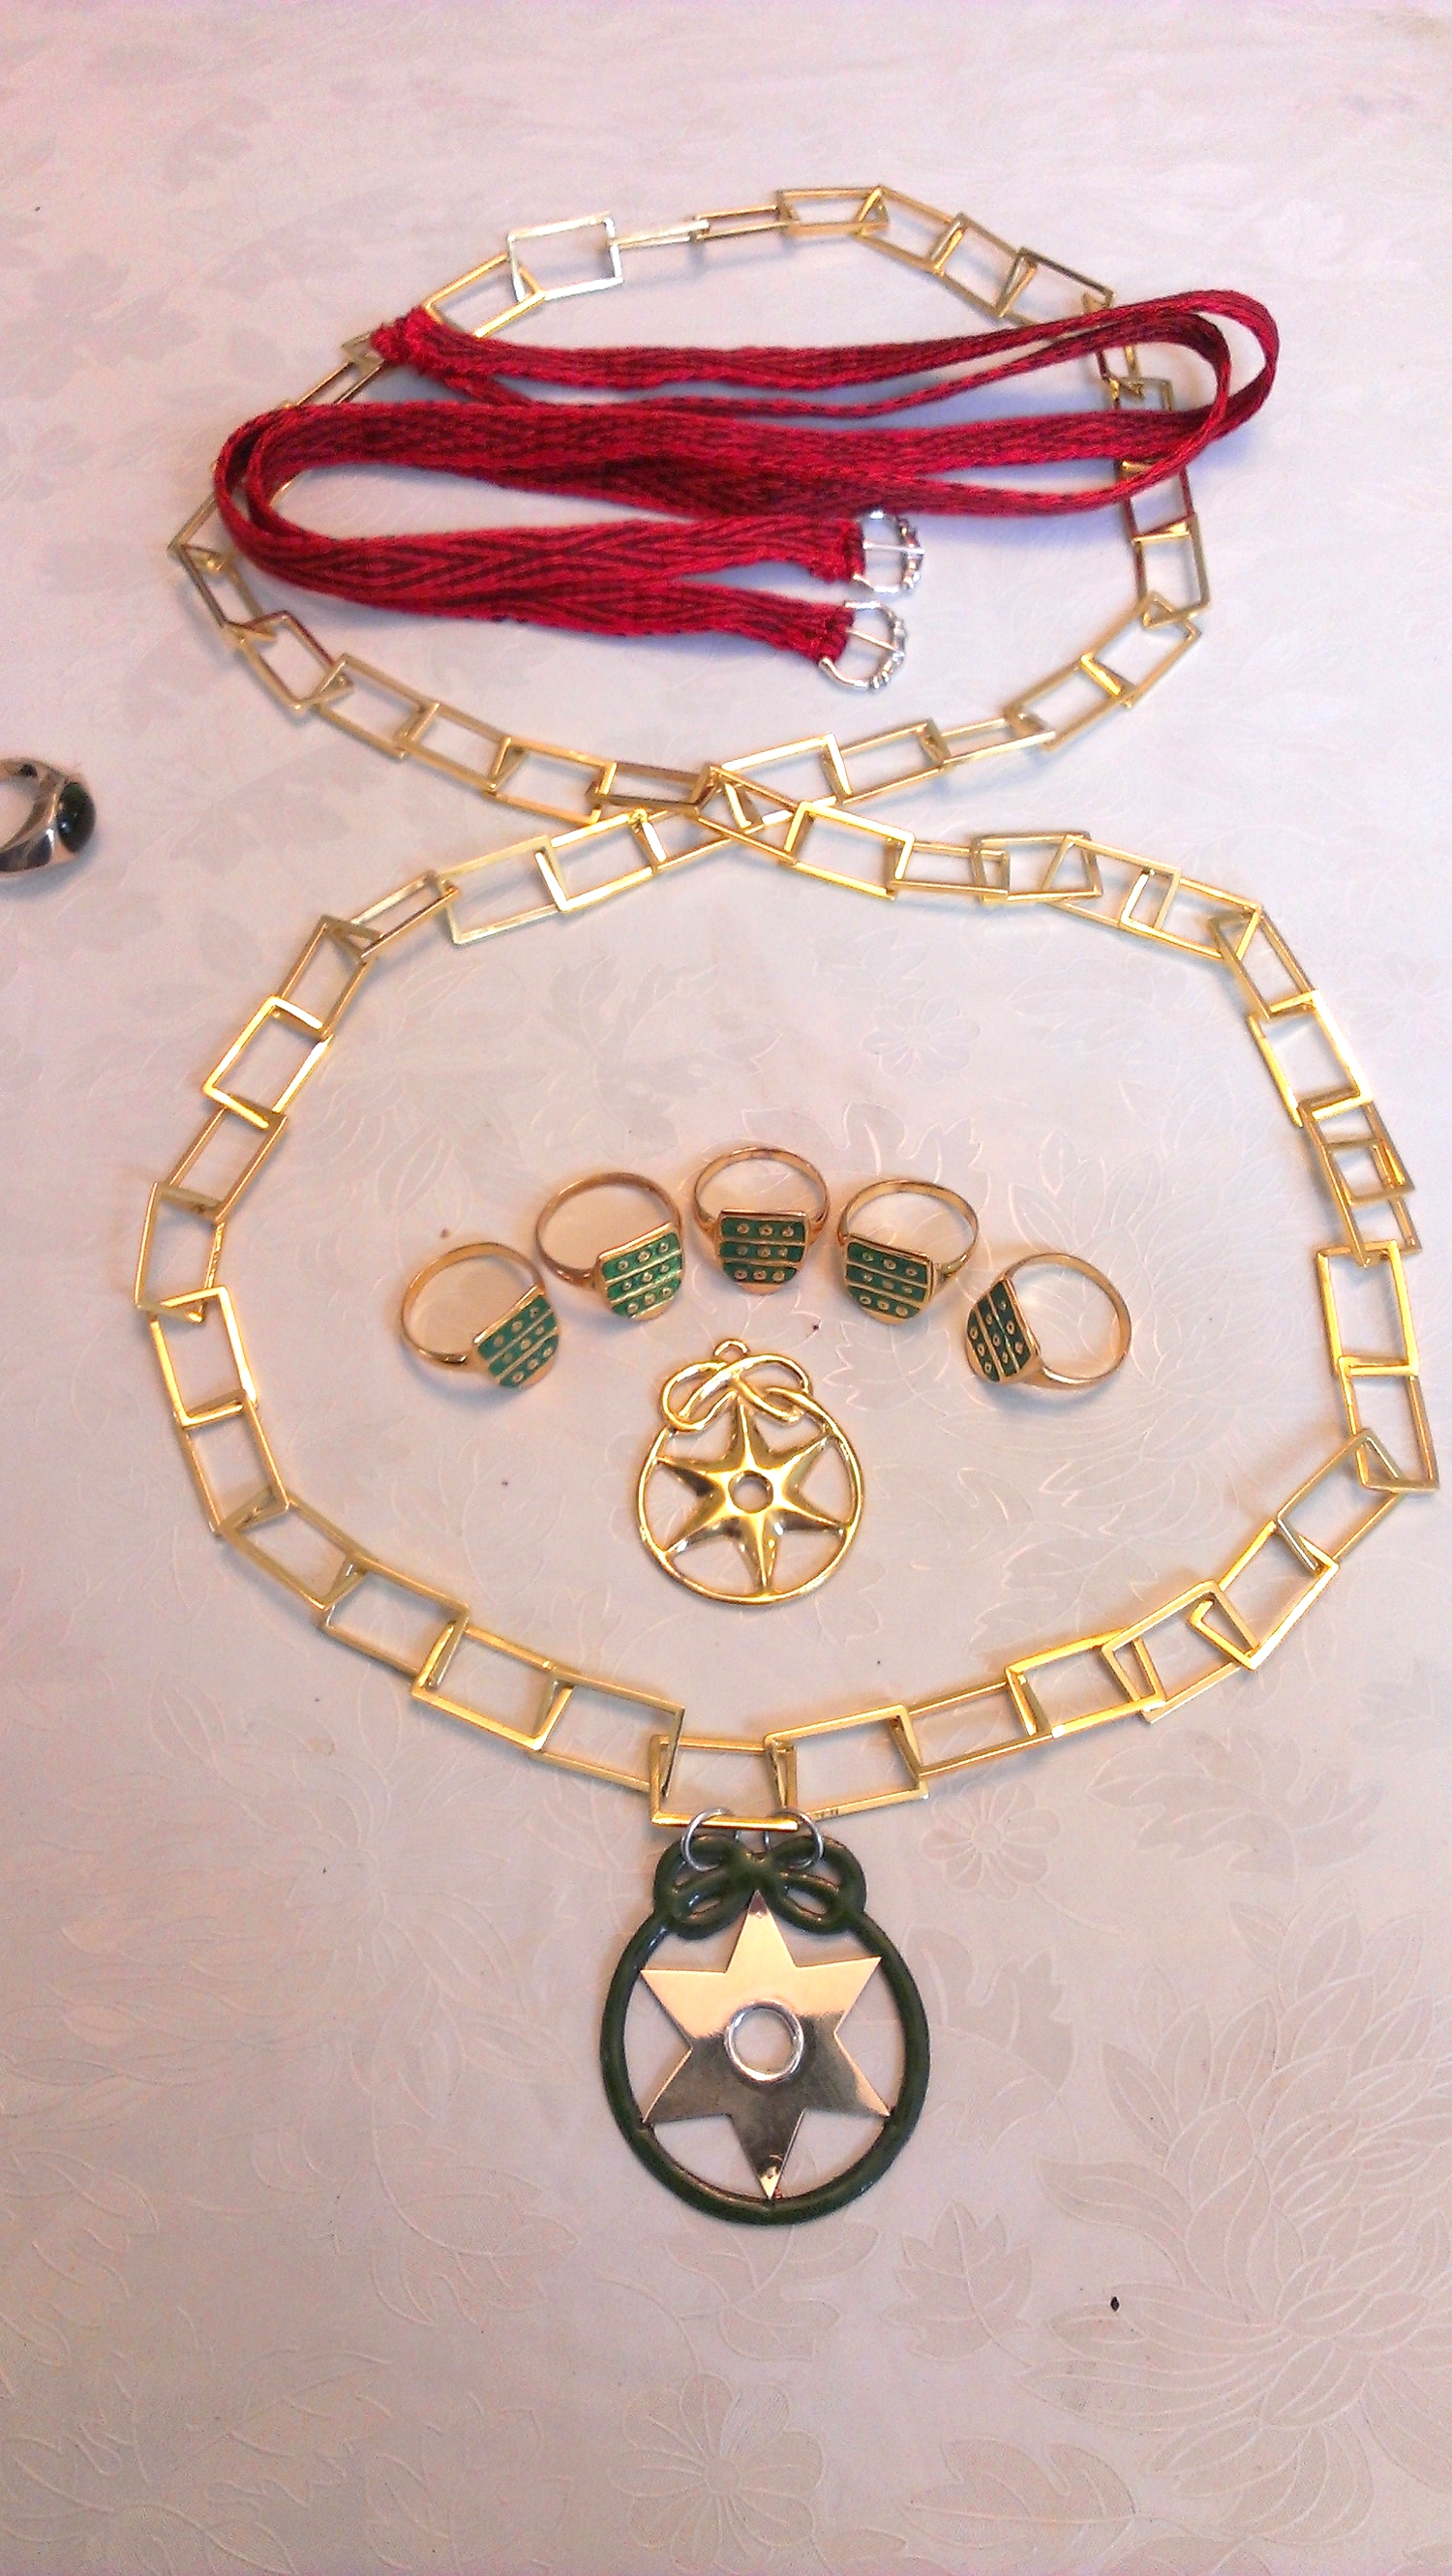
All the jewellery assembled and ready to be packed.
Here is an image of the chain laid out with some of the other items that were made for this event. Suspended from the chain is an heraldic badge, made in copper, sterling silver, green glass enamel and 10 karat gold. It depicts an 6 pointed spur rowel and a green knotted rope. Moving up you can see a simpler version of a badge made in sterling silver, plated gold. Above that are five silver plated gold heraldic rings with cermit enamel, to be given as prizes in the tournament. Next are handwoven silk garters with sterling silver buckles, and to the left is a ring which was made last year in 10k gold with a green tourmaline cabochon cut gem. It's a lot of bling but medieval people were mad for jewellery so you cant really be too crazy.
Hope you enjoyed this educational blog.
Now back to work.